Build Static Website With Hugo And Gitlab
This article talks about everything you need to know to build an internet accessible static website, like the one you are seeing right now.
Introduction
This section introduces the key concepts of a static websites.
What Is Static Website?
A static website is basically a website which only serves static files to your browser. These files are served as they are stored on the server side. Once your browser gets back the files, it will not circle back to the server to query more information. Any action needed to render your page needs to happen on your browser side. A great example is wikipedia.
A dynamic website behaves differently. The server side not only serves static files to the browser, but also respond to API calls from the broswer. For example, amazon would need to call server side APIs to place your orders.
Dynamic websites are definitely more powerful, because it allows you to interact with the server. Static websites are less powerful, but it’s a lot easier to maintain. You can even get free internet static website servers today.
Why Hugo?
There are many ways to build static websites. There seems to be two straightforward solutions.
Option 1: Writing your website manually
The most straightforward one is to write html, css, js files manually. Although it is perfectly doable, it is not quite desirable, because there are many duplicated work which can be automated. Here’s what we need to do for a static website typically (for example, this website):
- Build a navigation menu on the top, and include articles in the websites.
- Build a left side structure tree.
- Build a table of content for each article on the right.
- Build a tagging system for the website, and users can search articles based on tags.
Ideally, website developers should only need to focus on providing the content. If we were to do it without a static website generator, it doesn’t seem to be that easy. Everytime you add a new article, you’ll have to carefully update the above items, which is definitely a nightmare. That being said, building a static website manually is not preferred, because there are two many duplicated manual work.
Option 2: Using pure python to generate your website
So certain kind of automation needs to be done here. Can we use pure python to do that? Of course we can. However, pure python doesn’t provide a html template system. Writing python code to generate html files look ugly. Part of the python code needs to generate the texts, and part of it needs to generate automated items. As a developer, you are not focusing on the content itself, but the python script to generate the content. On the other hand, python definitely does not offer you the best performance, because it is a scripting language. So using pure python to automate the website generation is also not the best way.
Both options are not the most desirable one, but it makes us realize that we need:
- A html template system, which allows us to define html files with auto-generated component in it.
- A tool to generate the final output fast enough.
Hugo works exactly like this. Hugo built a html template system on top of go. Go is definitely fast enough, and the template system allows developers to truly focus on writing the content itself.
Why Gitlab?
Gitlab is one of the best places in the internet to host free static websites. You can also manage your repo there, and gitlab provides CI/CD for you to auto build and deploy your change.
Another choice here is github, but I found there are two major differences between them.
- In github, each user can only host one single static websites. While in gitlab, you can create many groups, and each group can have one website hosted.
- In github, you can only host the website if you open source your project (unless you pay for it). In github, your source code doesn’t have to be open-sourced.
So Gitlab is clearly a better choice here in terms of the above factors.
Development
This section talks about how to develop a website with hugo, and deploy it on gitlab pages.
Step 1: Create A Gitlab Group And A Project
Log on gitlab, and go to https://gitlab.com/groups/new. Fill up the forms
- Group name: let’s use examplesite.
- Group URL: it’s filled up automatically based on your group name.
- Visibility level: this is to say whether you repo is publicly visible. Either private or public is ok.
- Role: Software Developer (or others based on your case).
- Who will be using this group: Just me (or My company of team if you have a team).
- What will you use this group for?: I want to store my code.
Then click on create.
Once a group is created, create an blank project in it:
- Project name: This has to be examplesite.gitlab.io
- Project deployment target: Gitlab Pages
Then create project.
Now let’s go back to our mac or Linux server, and find a place (say home folder) to clone your project from gitlab:
git clone https://gitlab.com/examplesite/examplesite.gitlab.io.git
you can also clone by ssh if you want,
git clone git@gitlab.com:examplesite/examplesite.gitlab.io.git
Now you have an empty git project on gitlab, which is cloned into your ~/examplesite directory.
Step 2: Create An Empty Hugo Website
To use hugo, we’ll first need to install it. To install hugo on ubuntu,
sudo apt install hugo
To install hugo on mac,
brew install hugo
After hugo is installed, let’s create a hugo website by typing in the following command from your home folder.
cd
hugo new site examplesite.gitlab.io --force
Note we need the parameter --force because the examplesite directory already exists.
Next, we need to copy a theme. There are many themes available in here. In this example, we’ll use the ananke theme.
cd examplesite.gitlab.io
git submodule add https://github.com/theNewDynamic/gohugo-theme-ananke themes/ananke
echo "theme = 'ananke'" >> config.toml
After that, we can start our hugo website by typing in
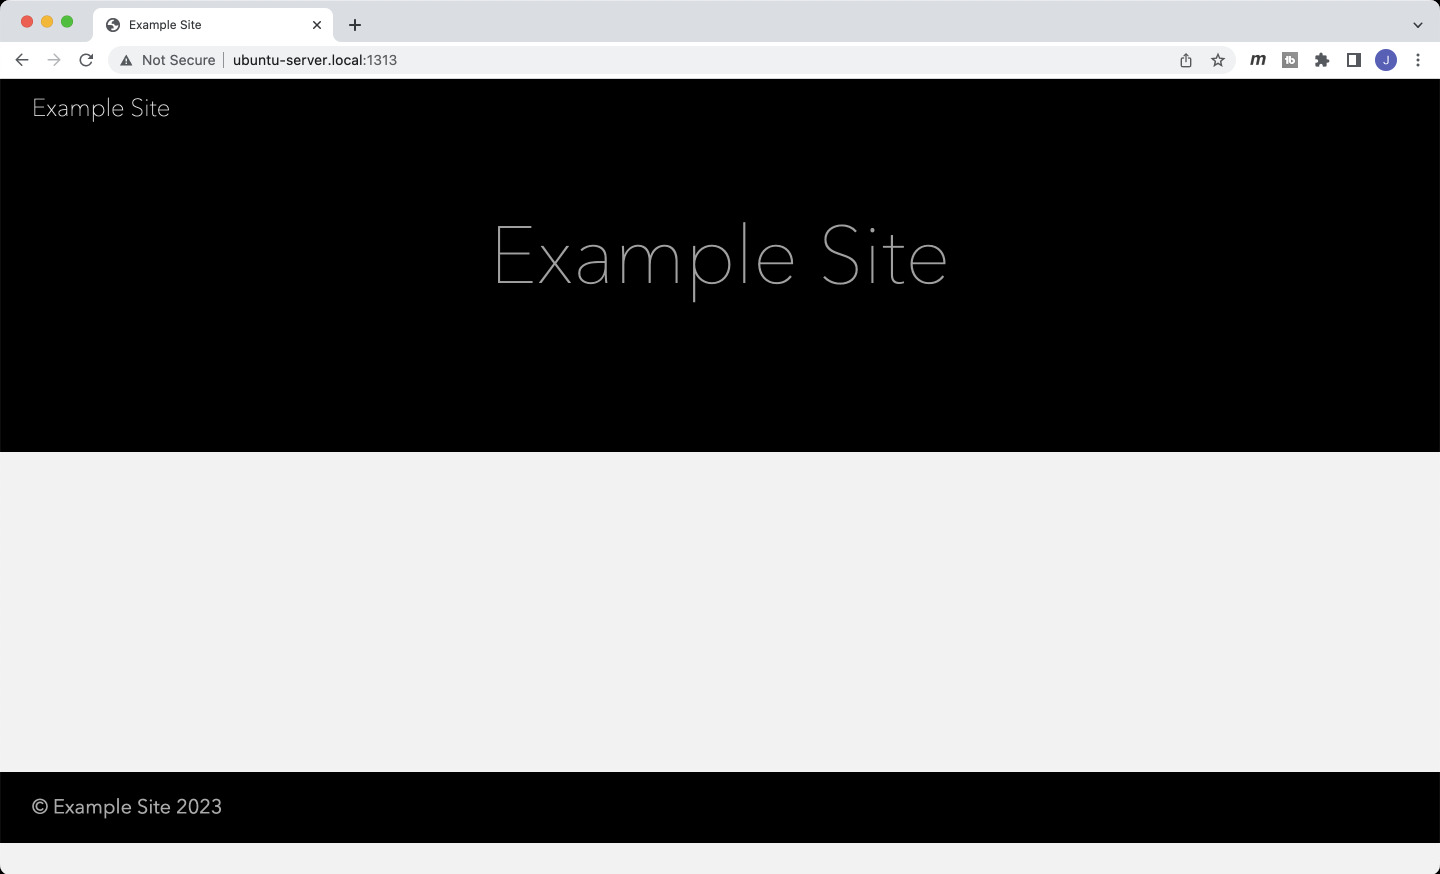
hugo server --bind 0.0.0.0
We bind the ip 0.0.0.0 so that you can access it from outside the server. Then you can access your server from {your-server-ip}:1313. If your hugo server is running on the same machine with your browser, you can use localhost:1313. In my case, I got
Step 3: Create A Post
Next, let’s create a post on the website. To create a post, type in:
hugo new posts/my-first-post.md
Edit the file content/posts/my-first-post.md and update its content like the following:
---
title: "My First Post"
date: 2023-01-17T07:19:39Z
tags: ["post"]
---

This is my first hugo post!
Then go to the page again, and you’ll find the post.
Step 4: Submit Our Git Changes
Now, submit our changes onto gitlab.
git add -A
git commit -m "Example hugo website"
git push origin main:main
Step 5: Host It On Gitlab Pages
Now, it is time to deploy it to gitlab pages and make it public to internet.
Step 5.1: Create A .gitlab-ci.yml
First, let’s create a .gitlab-ci.yml file in your repo root directory to trigger the gitlab CI/CD with the following content.
image: registry.gitlab.com/pages/hugo/hugo_extended:latest

before_script:
  - apk add --update nodejs npm
  - npm install --prefix themes/ananke

variables:
  GIT_SUBMODULE_STRATEGY: recursive

pages:
  script:
  - hugo -e production --minify
  artifacts:
    paths:
    - public
  rules:
  - if: $CI_COMMIT_BRANCH == $CI_DEFAULT_BRANCH
Then, submit the file with the following command.
git add -A
git commit -m "Add .gitlab-ci.yml file"
git push origin main:main
Now, if you go to your gitlab project CI/CD -> Pipelines, you should see your commit is triggering a new build and deployment. After your pipeline job is done, you should be able to see your website from https://examplesite.gitlab.io/.
Step 5.2: Make Your Pages Public To Internet
Although you are able to see the website from a public url, others cannot. You’ll have to make it public. To do that, Go to your project -> Settings -> Visibility, project features, permissions -> Pages, select Everyone. Then goto the bottom and save changes.
Now a hugo static website on the Internet is done! For any of the future changes, just edit your hugo website locally, and then push the changes to the gitlab main branch. Then your website will be updated automatically.